Make Webhook
Integrating Make (formerly Integromat) with your AI Agent empowers you to automate complex workflows, connect your AI Agent with hundreds of apps, and streamline your tasks without any coding. This guide is tailored for non-technical users aiming to set up a Make integration swiftly, enabling your AI Agent to perform actions like updating records, sending notifications, or managing tasks in apps like HubSpot directly through conversation.
What You’ll Need
- A Make account.
- Access to your AI Agent’s dashboard.
Setting Up Make Step By Step
Before configuring the tool in our app, you need to create a "Scenario" (an automated workflow) in Make. After setting up your Scenario in Make, you'll need to configure the corresponding tool in your AI Agent's dashboard.
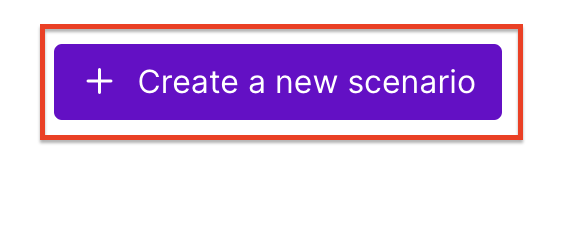
- Log into Make and click the Create a New Scenario button.
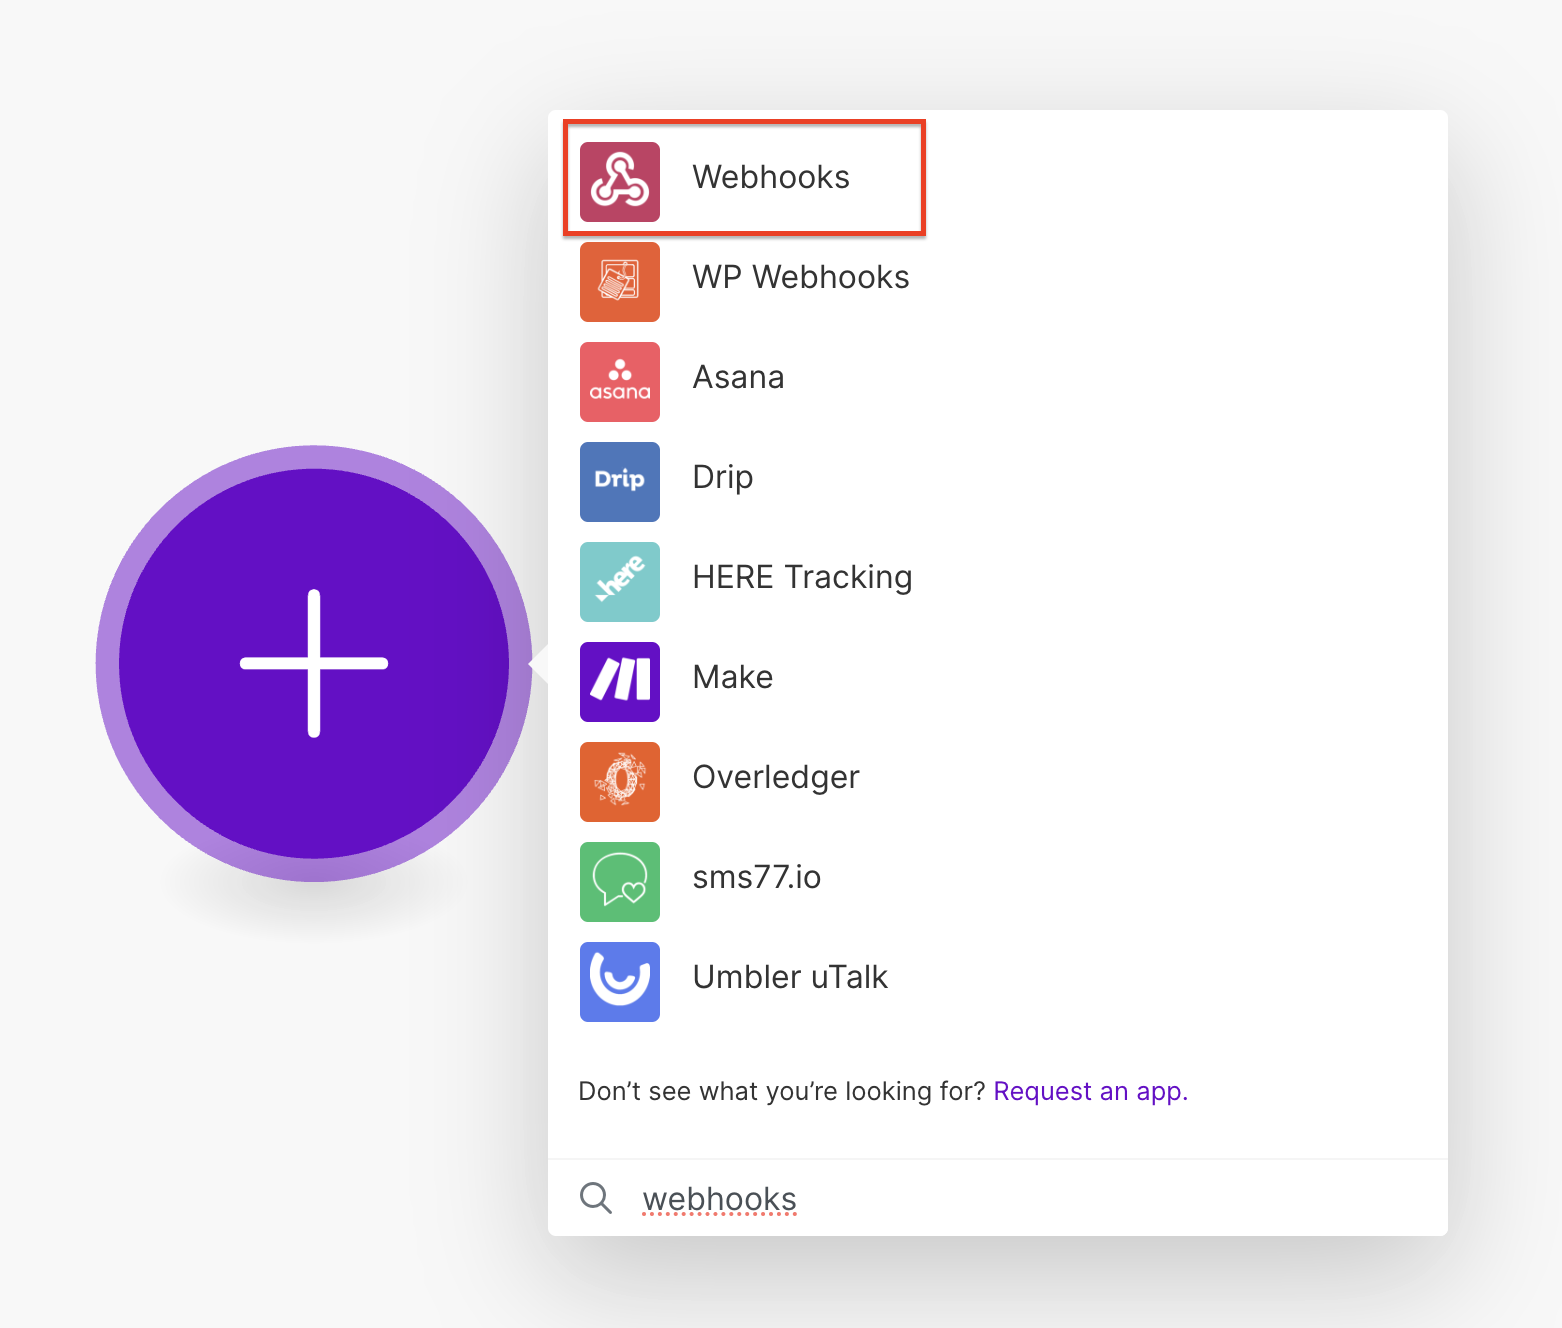
- Choose a Trigger App: This is the first step that starts your workflow. You have to select Webhooks
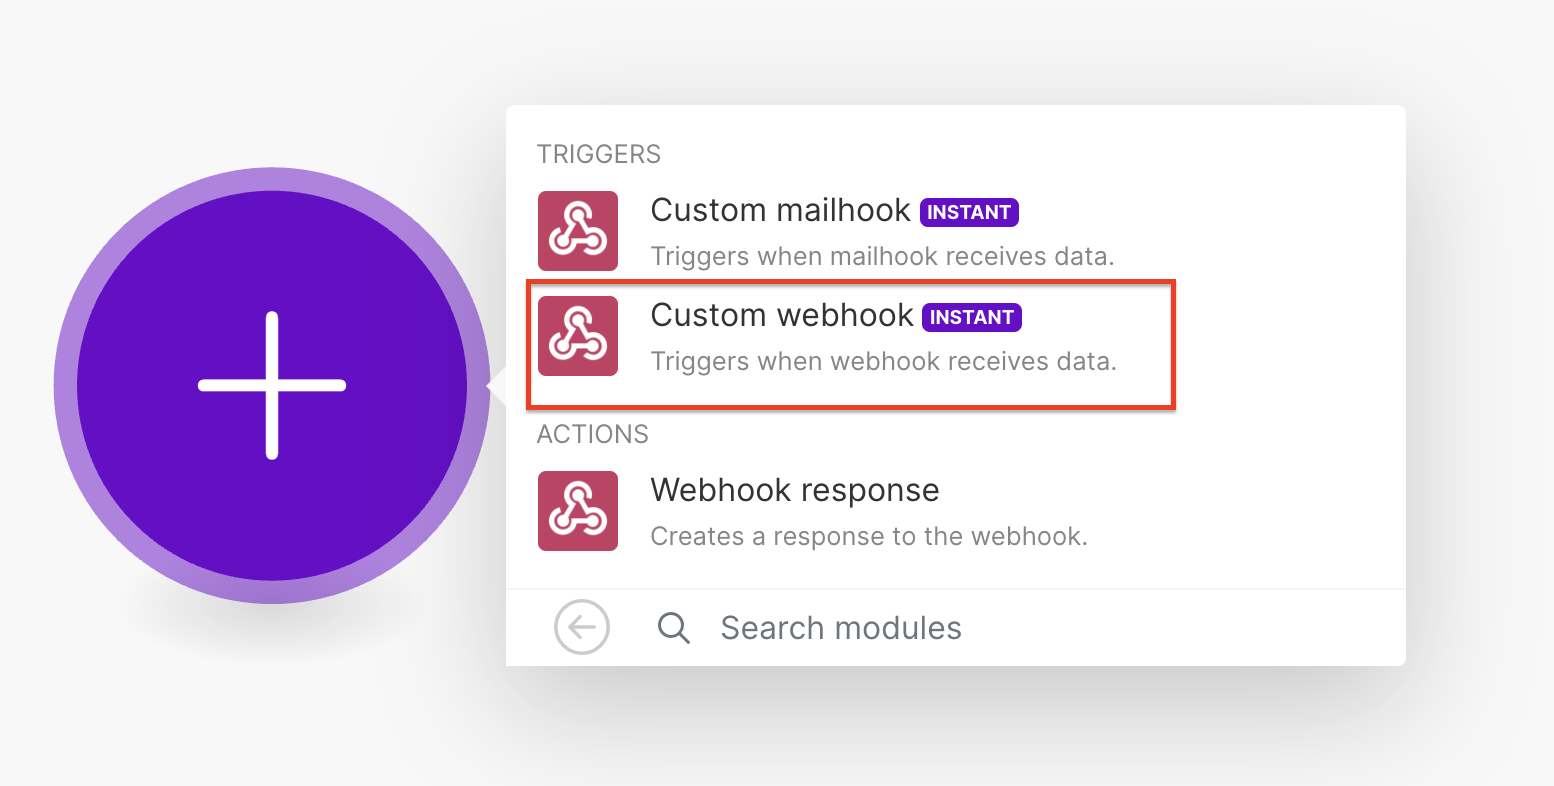
- Select Webhook Type: This is the trigger that will start your workflow. You have to select Custom Webhook
- Create a Webhook
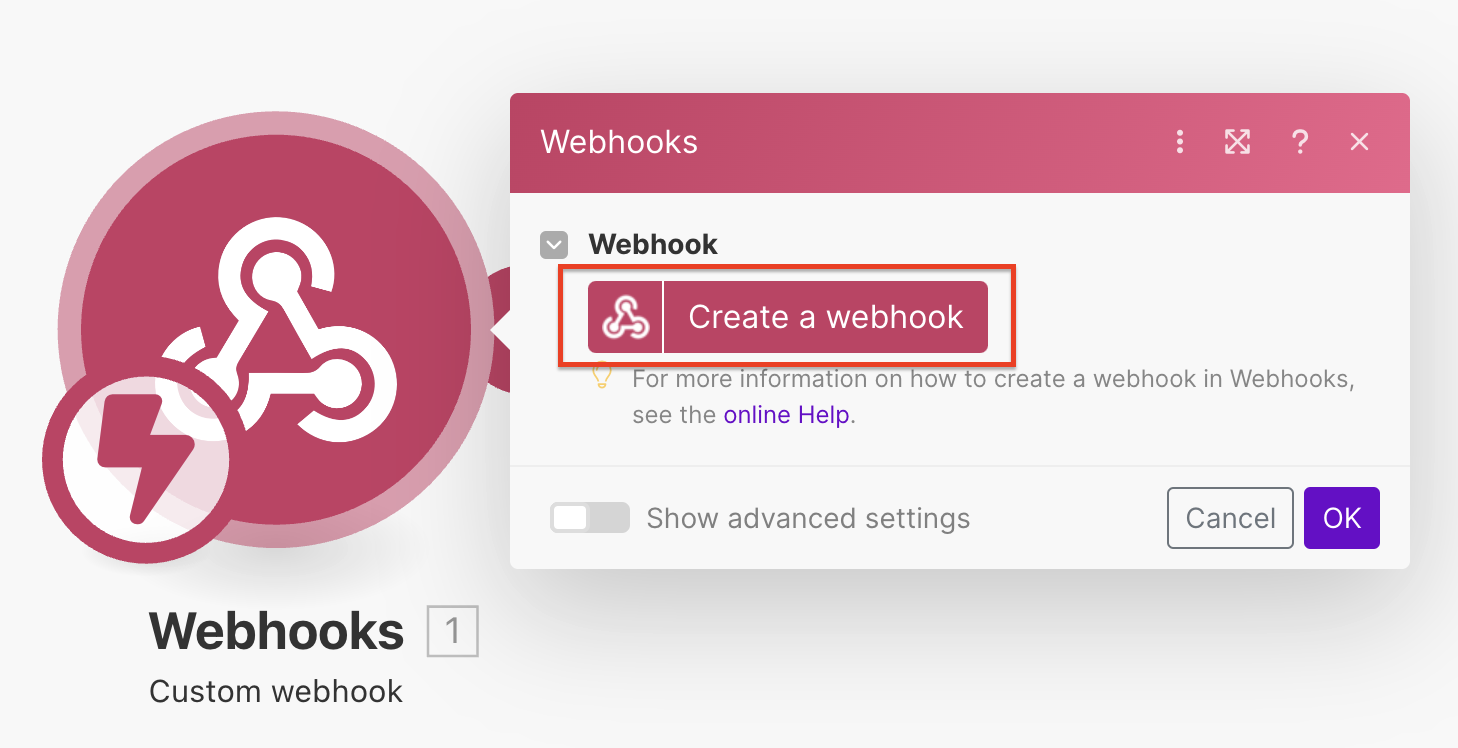
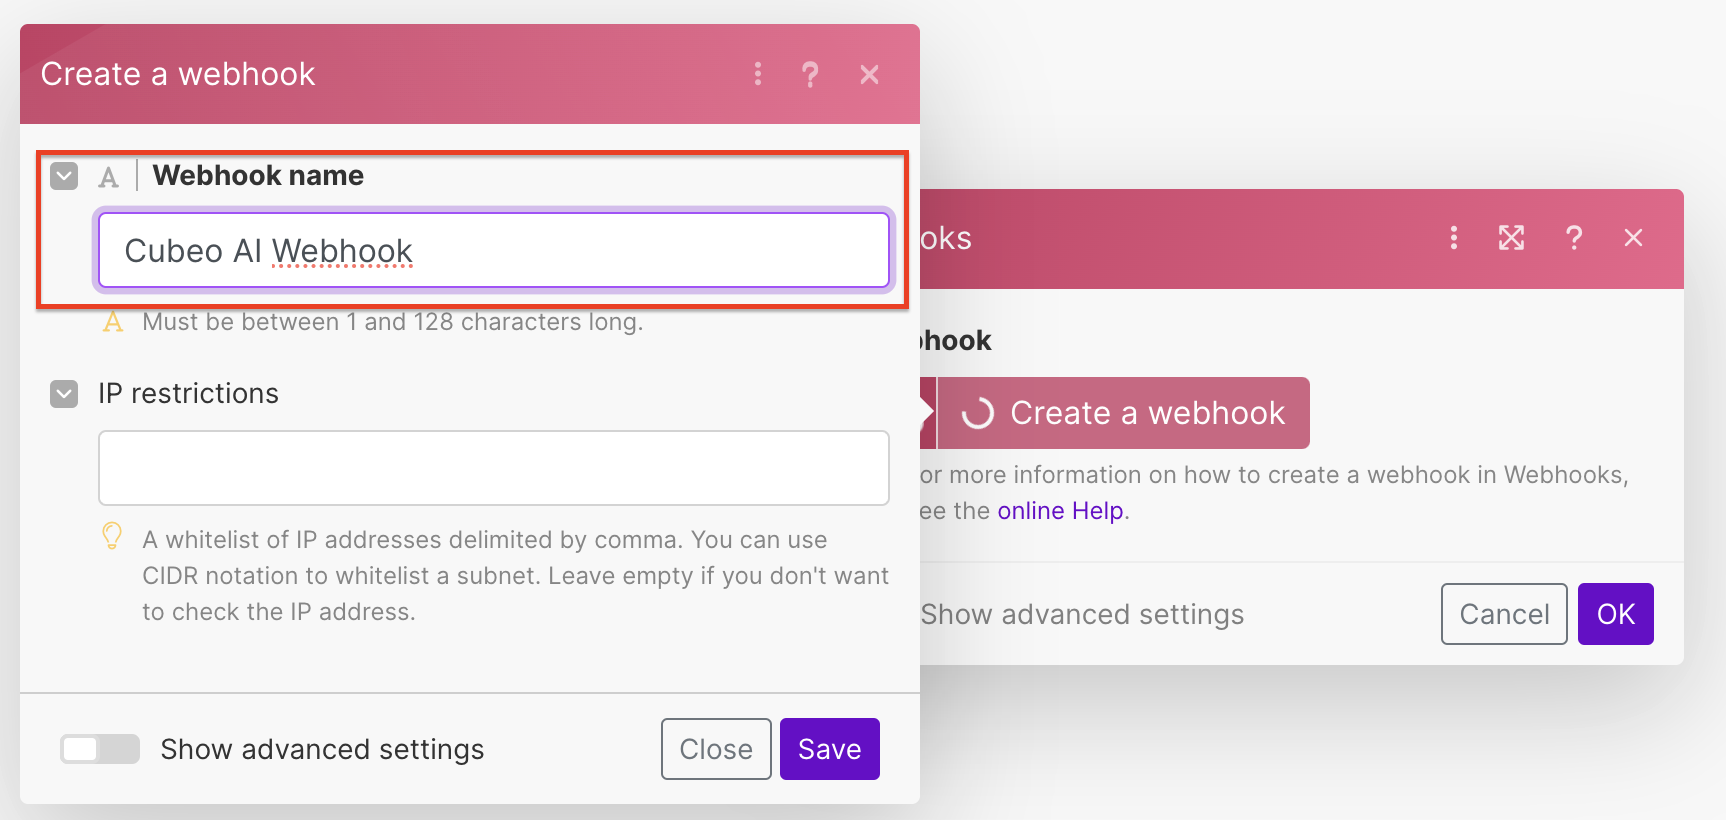
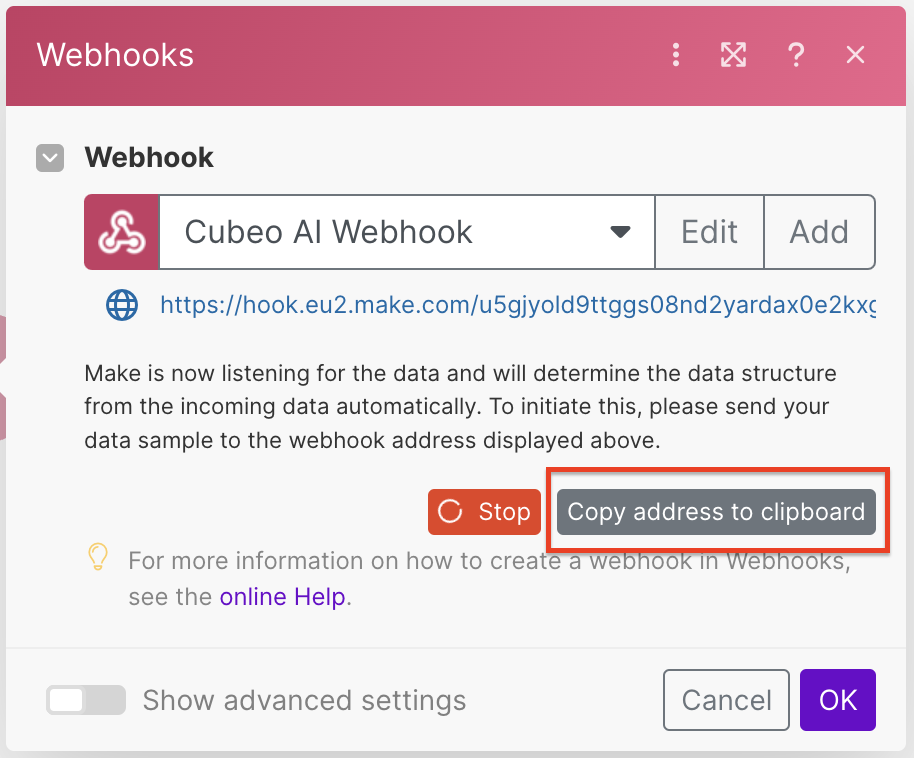
- Copy the Webhook URL: This is the url that should be configured in Cubeo AI app.
- Configure the Make tool for your AI Agent: Go to Cubeo AI app in the AI Agent
Toolstab and selectMaketool, then click configure.

- Add a name, a description and the Webhook URL: Give it a name, a description where you instruct the AI Agent how to use this tool and paste the Webhook URL copied at step 5.
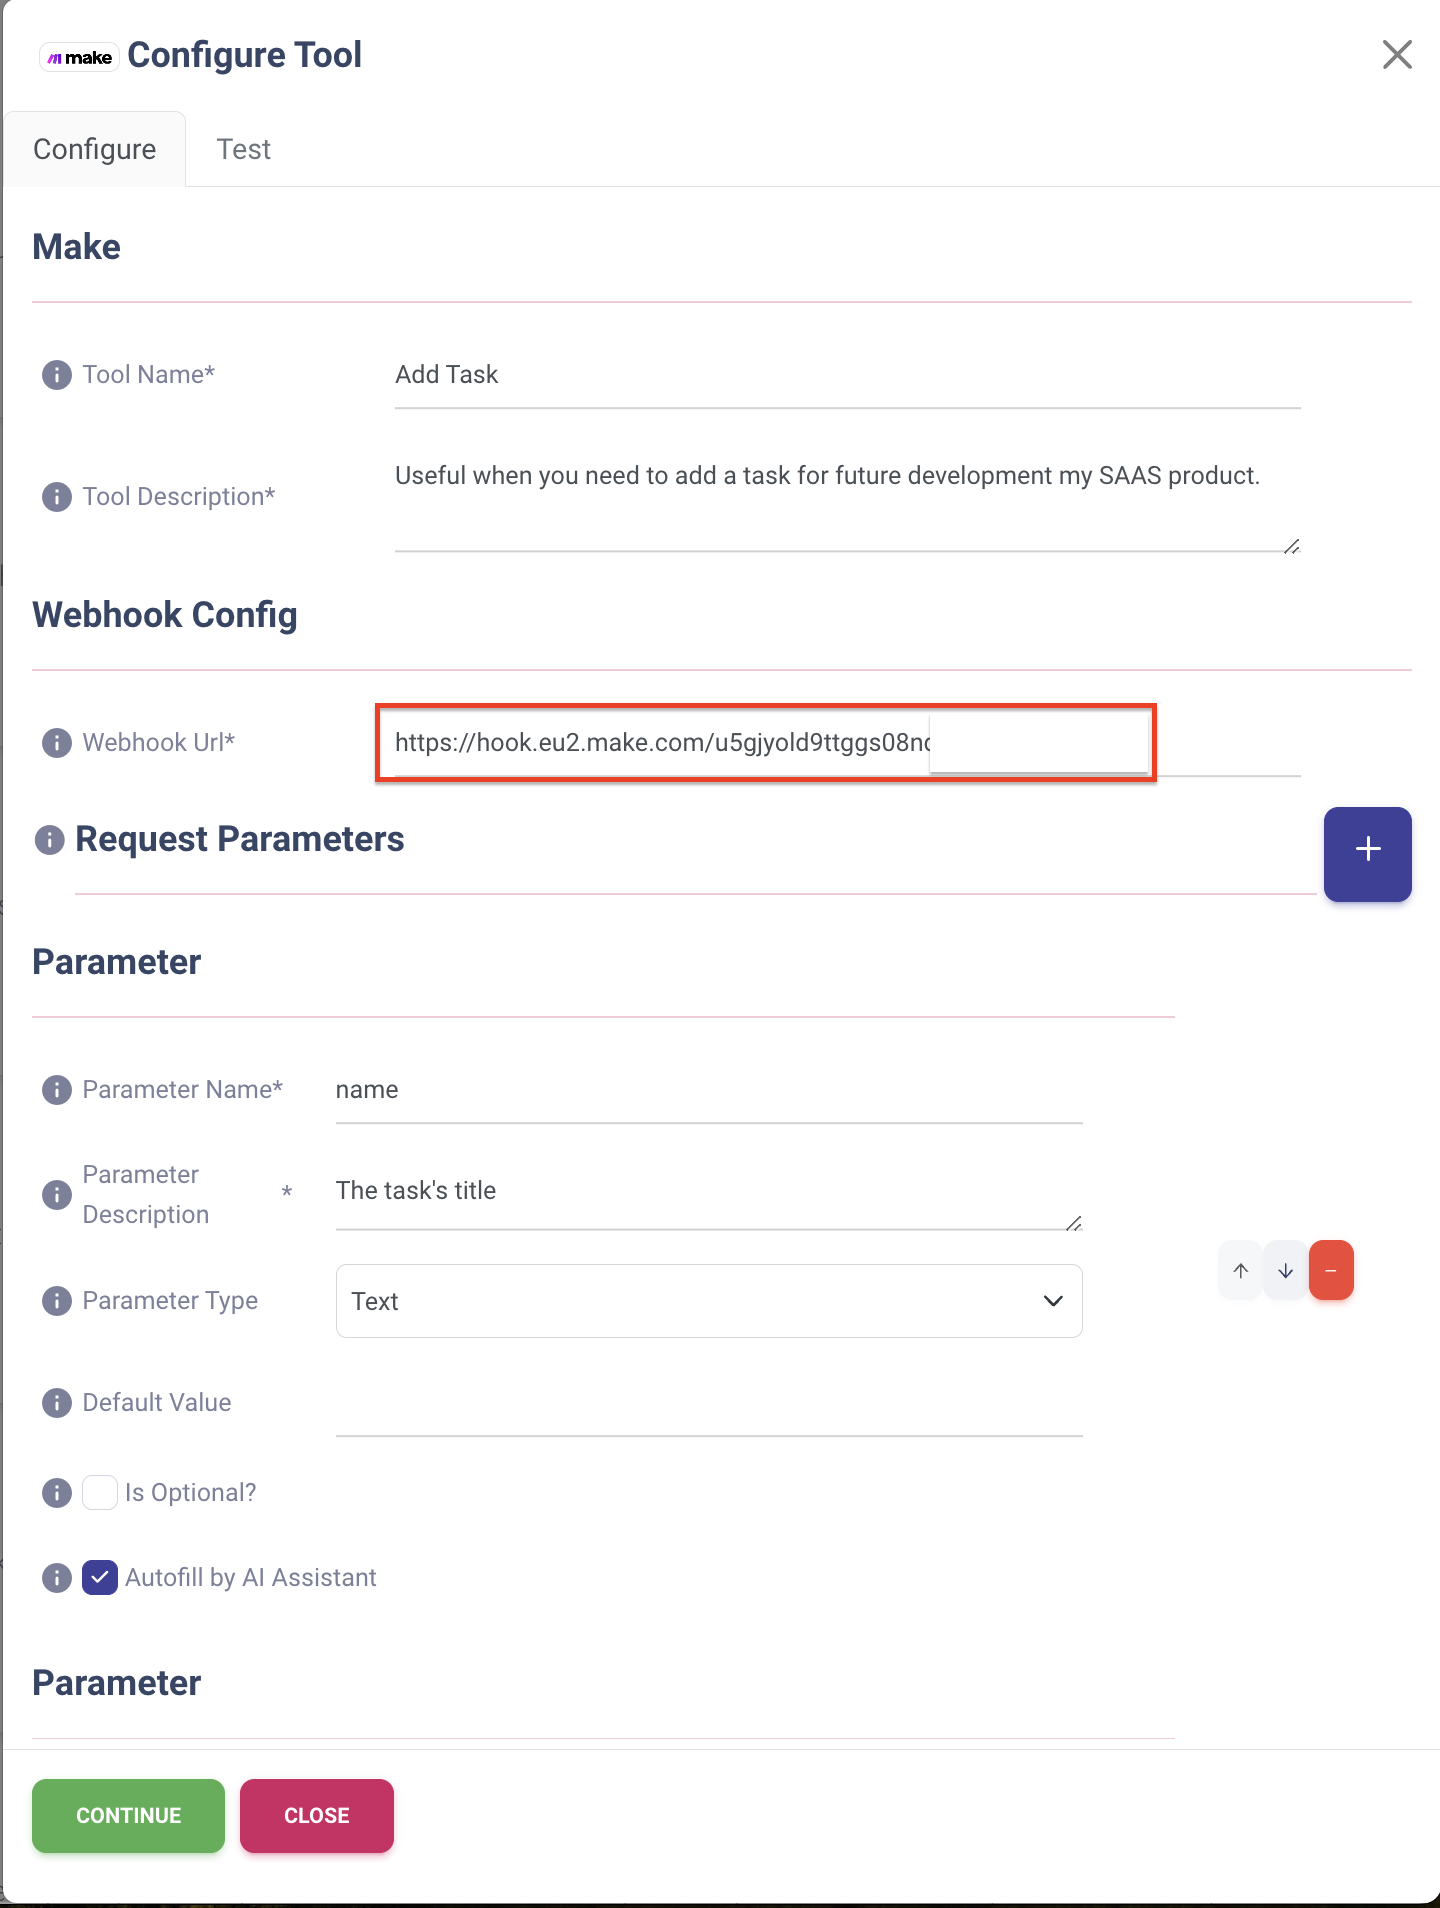
- Configure Parameters: Configure what data do you need to send to Make. These are the parameters the AI Agent will collect from users and send to Make.
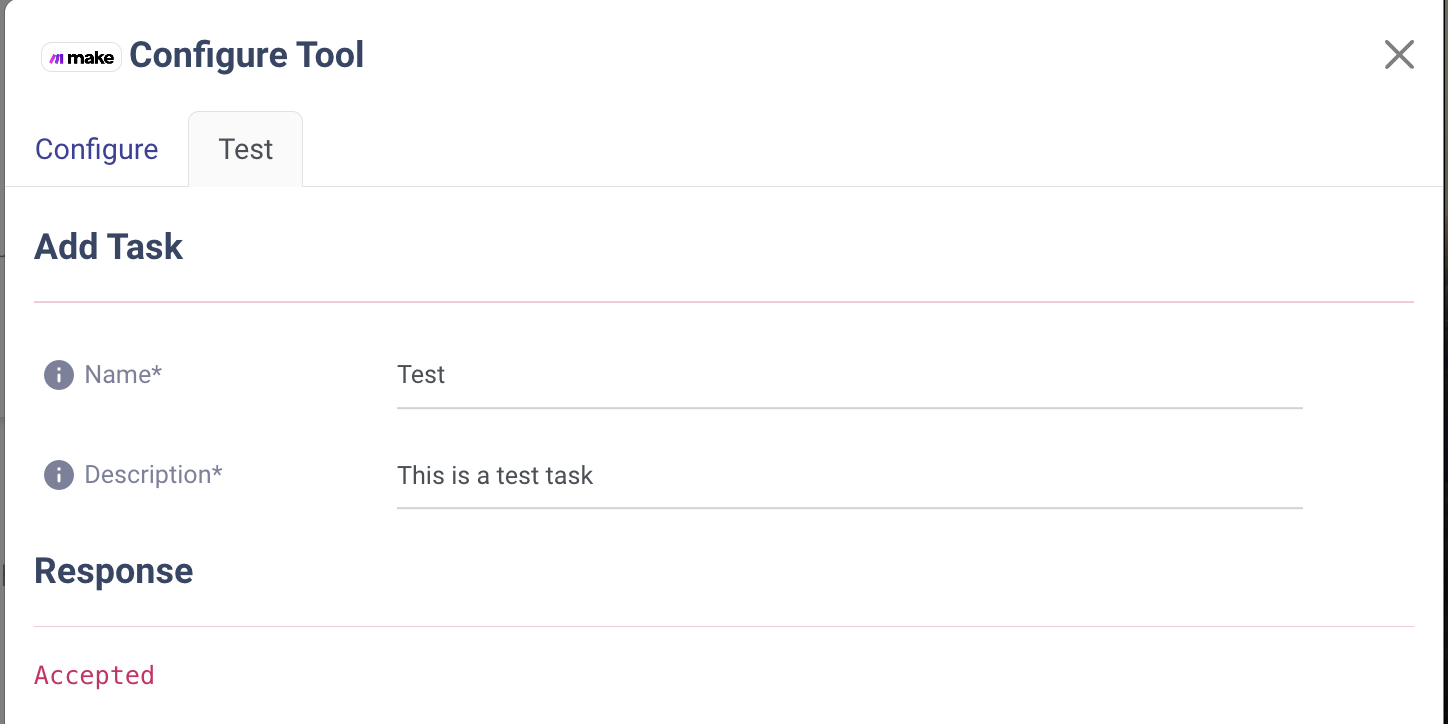
- Test Your Tool: Once you have configured the data to be collected, you are able to test your webhook. Configure the test parameters and test your tool. You'll see the raw response from Make and can see if it was successfully or not.
- Start Building Your Workflow: Once you have tested your webhook, you are able to add new steps to your Scenario. The sky is the limit!
Configuration Fields Explained
- Name: This is how you'll identify the tool within your AI Agent (e.g., "Add Task"). Stick to alphanumeric characters, underscores, spaces, and dashes.
- Description: Describe what the tool does (e.g., "Useful when you need to add a task for future development my SAAS product"). This helps in identifying the tool's purpose and helps AI Agent to decide when the tool should be used.
- URL: The webhook URL provided by Make when setting up the "Custom Webhook" action.
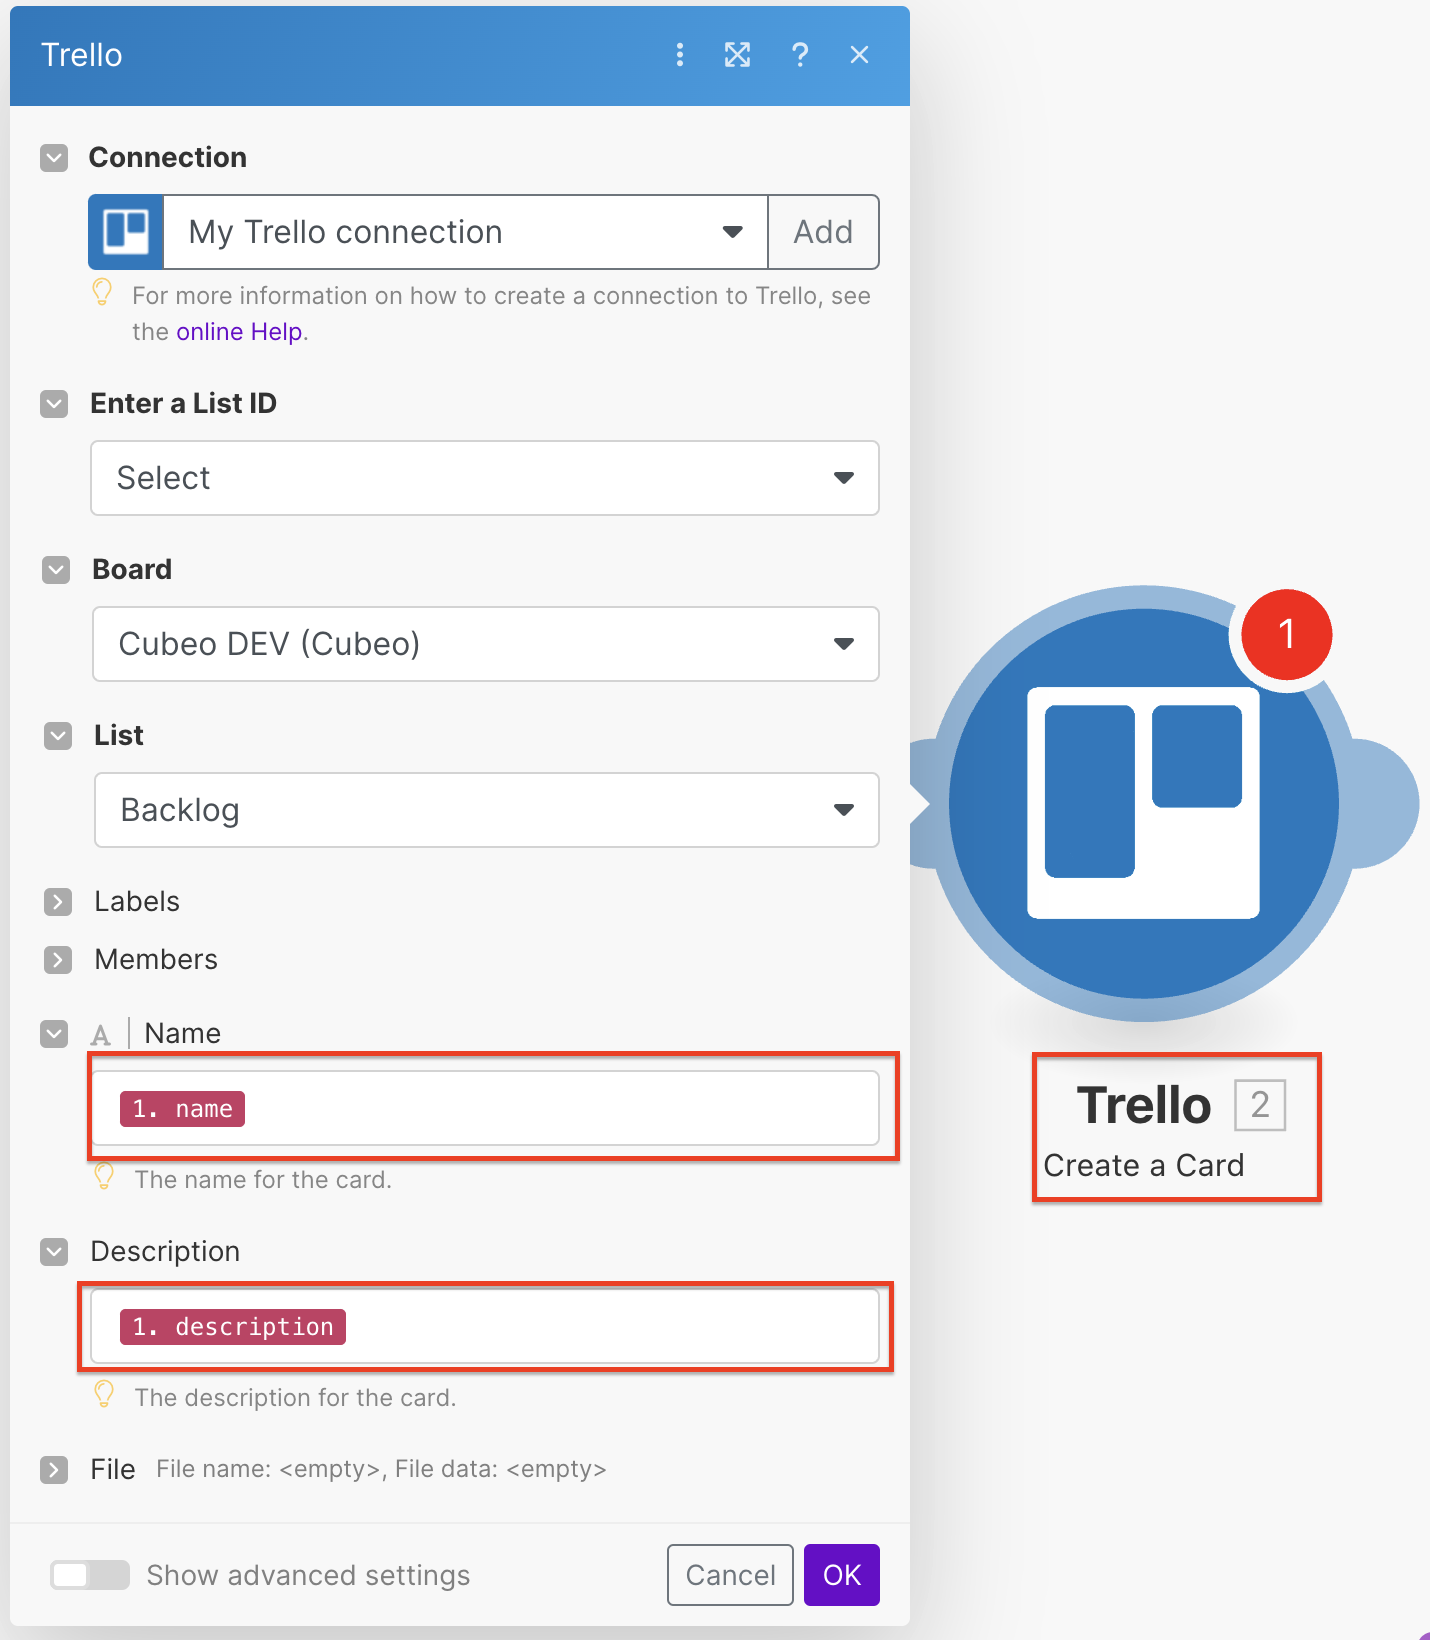
- Parameters: The data your AI Agent will send to Make. For instance, if your Scenario adds a task in your trello account, you might need parameters like "name" and "description".
Example Use Case
Let’s say you are a project manager that wants to build an AI Agent for helping you to manage trello tasks. For this you want a quicker solution for add a task automatically in your trello account:
- Configure an AI Agent of type
Custom Agentin Cubeo AI -- You firstly need to create a new AI Agent in Cubeo AI app of typeCustom Agent. This type allows you to interact with tools. - Configure a Make tool -- You need to configure a Make tool that adds a task in your calendar:
- Tool Name:
Add Task - Tool Description:
Useful when you need to add a task for future development my SAAS product. - Webhook Url:
<the webhook url provided by Make at step 5 above> - Request Parameters:
- name:
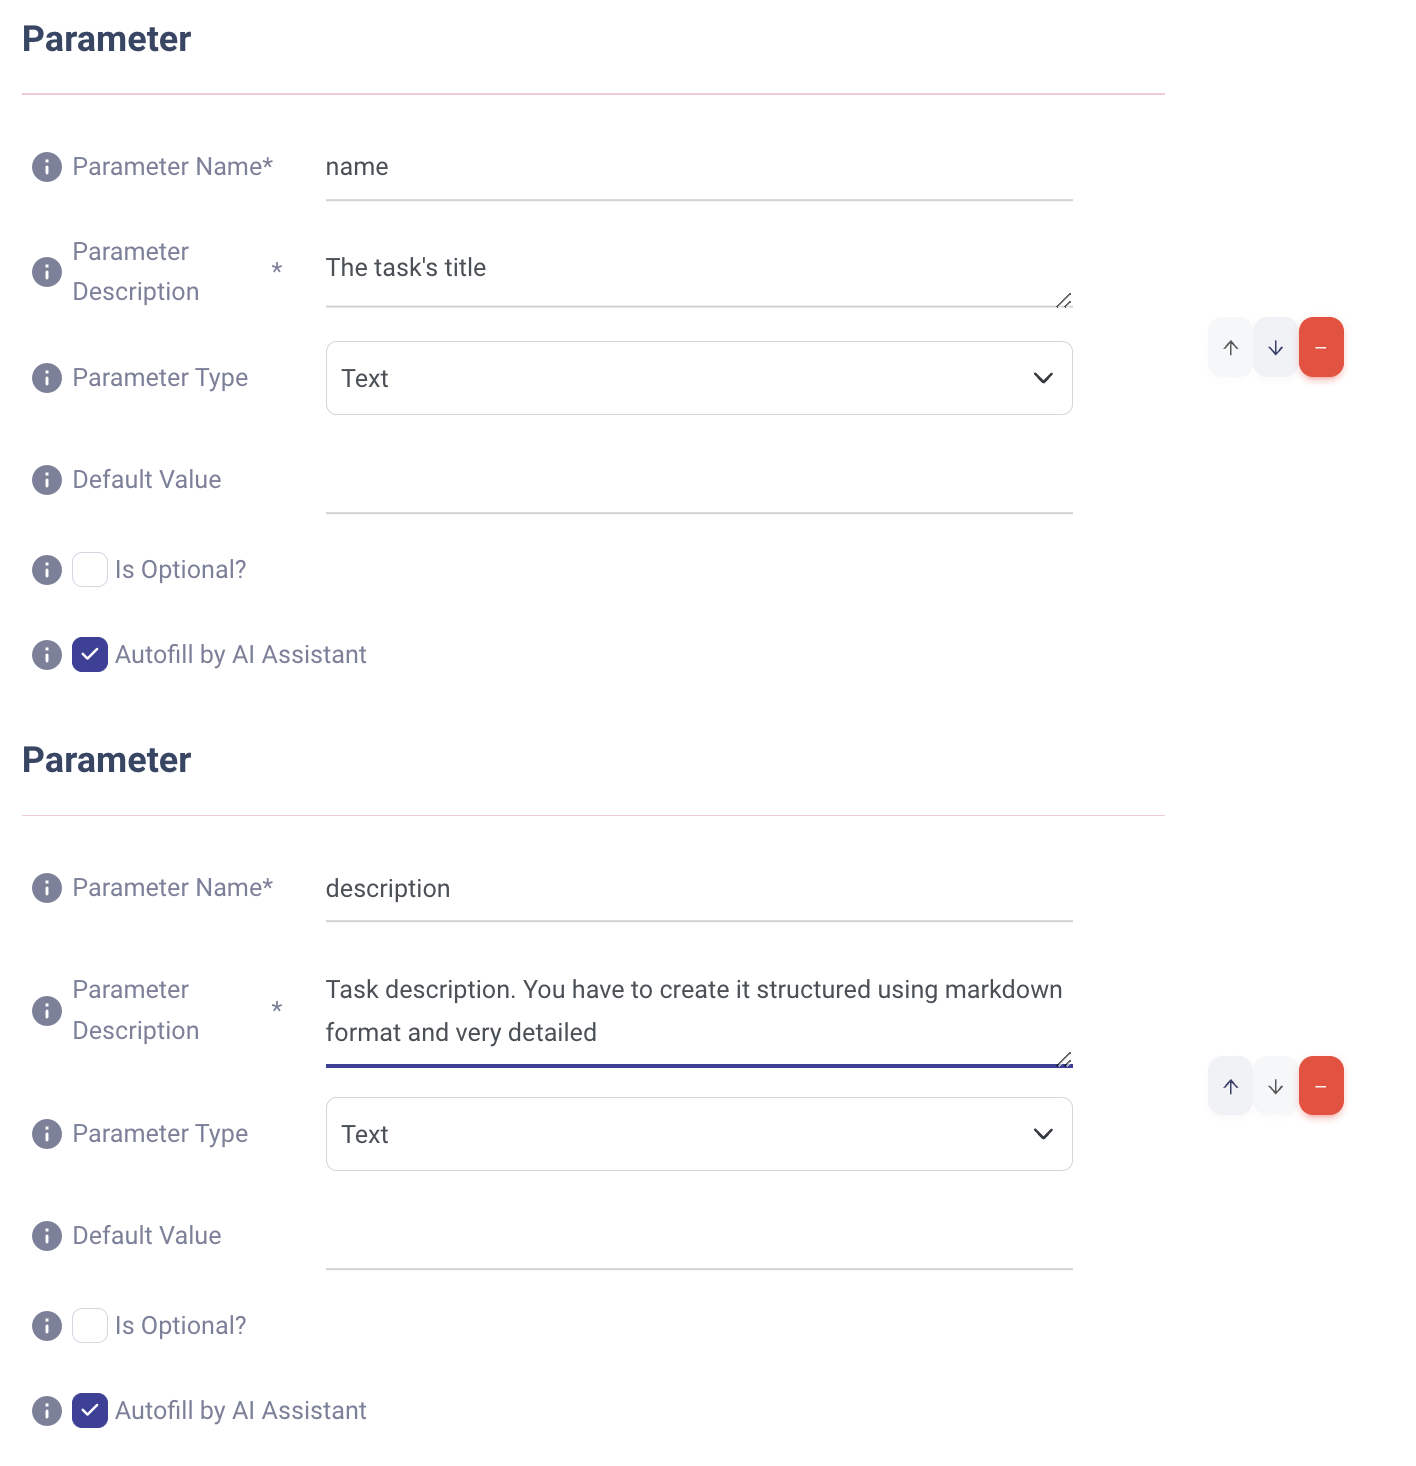
- Parameter Name:
name - Parameter Description:
The task's title. It should be less than 50 characters long - Parameter Type:
Text - Is optional?:
Unchecked-- this tells the AI Agent that it should always provide a short title for the task - Autofill by AI Agent:
Checked-- this option exposes the parameter to AI Agent so it can provide a title by itself
- Parameter Name:
- description:
- Parameter Name:
description - Parameter Description:
Task description. You have to create it structured using markdown format and very detailed - Parameter Type:
Text - Is optional?:
Unchecked-- this tells the AI Agent that this parameter required so it should always provide a task description - Autofill by AI Agent:
Checked-- this option exposes the parameter to AI Agent so it can provide a description by itself
- Parameter Name:
- name:
- Tool Name:
- Test Your Tool: Once you defined all parameters for your request, you have to test it to be sure everything works as expected.
- Check The Test in Make: You have to check the test in Make and connect your Trello Account to create tasks in Trello.
- Test Your AI Agent: Now when everything is set up, you can ask your AI Agent:
Add me a task for adding a loader when user clicks on the test tool buttonand you will see your task added in your trello account 🥳
As simple as saying Cubeo AI, you'll have your personal AI Agent in 5 min 😎
Best Practices
- Test Your Make Connection: Always test the connection between your AI Agent and Make to ensure smooth operation.
- Keep Parameters Relevant: Only include necessary parameters to avoid overloading your request with unnecessary data.
- Secure Your Webhook: Ensure your webhook URL is kept confidential to prevent unauthorized access.
By following these steps, you can seamlessly integrate Make with your AI Agent, automating your workflows and enhancing your productivity without needing to delve into technicalities. This powerful integration opens up endless possibilities for automating tasks, allowing you to focus more on what truly matters for your business.